First Steps
Your First 5 Minutes with Kizuna
Section titled “Your First 5 Minutes with Kizuna”Congratulations on installing Kizuna! Now let’s connect your first n8n instance and see the magic happen.
1. Create an Account
Section titled “1. Create an Account”When you first open Kizuna, you’ll need to sign up. Detailed user management instructions can be found in the Security section, but for now, create your admin account.
2. Add Your First Server
Section titled “2. Add Your First Server”From the Dashboard, click the ”+ Add Server” button.
You will need to provide:
- Name: A friendly name (e.g., “Production”, “Staging”, “AWS Lite”).
- URL: The full URL of your n8n instance (e.g.,
https://n8n.mydomain.com). - API Key: Your n8n API Key. You can generate this in n8n under
Settings->API.
3. Verify Connection
Section titled “3. Verify Connection”Once added, Kizuna will immediately attempt to ping the server.
- Online: Green indicator. Latency (e.g.,
45ms) is shown. - Offline: Red indicator. Check your URL and network settings.
4. Explore Workflows
Section titled “4. Explore Workflows”Click on the server card to enter the Server Details view.
- You should see a list of all your workflows.
- Try toggling a workflow from
InactivetoActivedirectly from Kizuna.
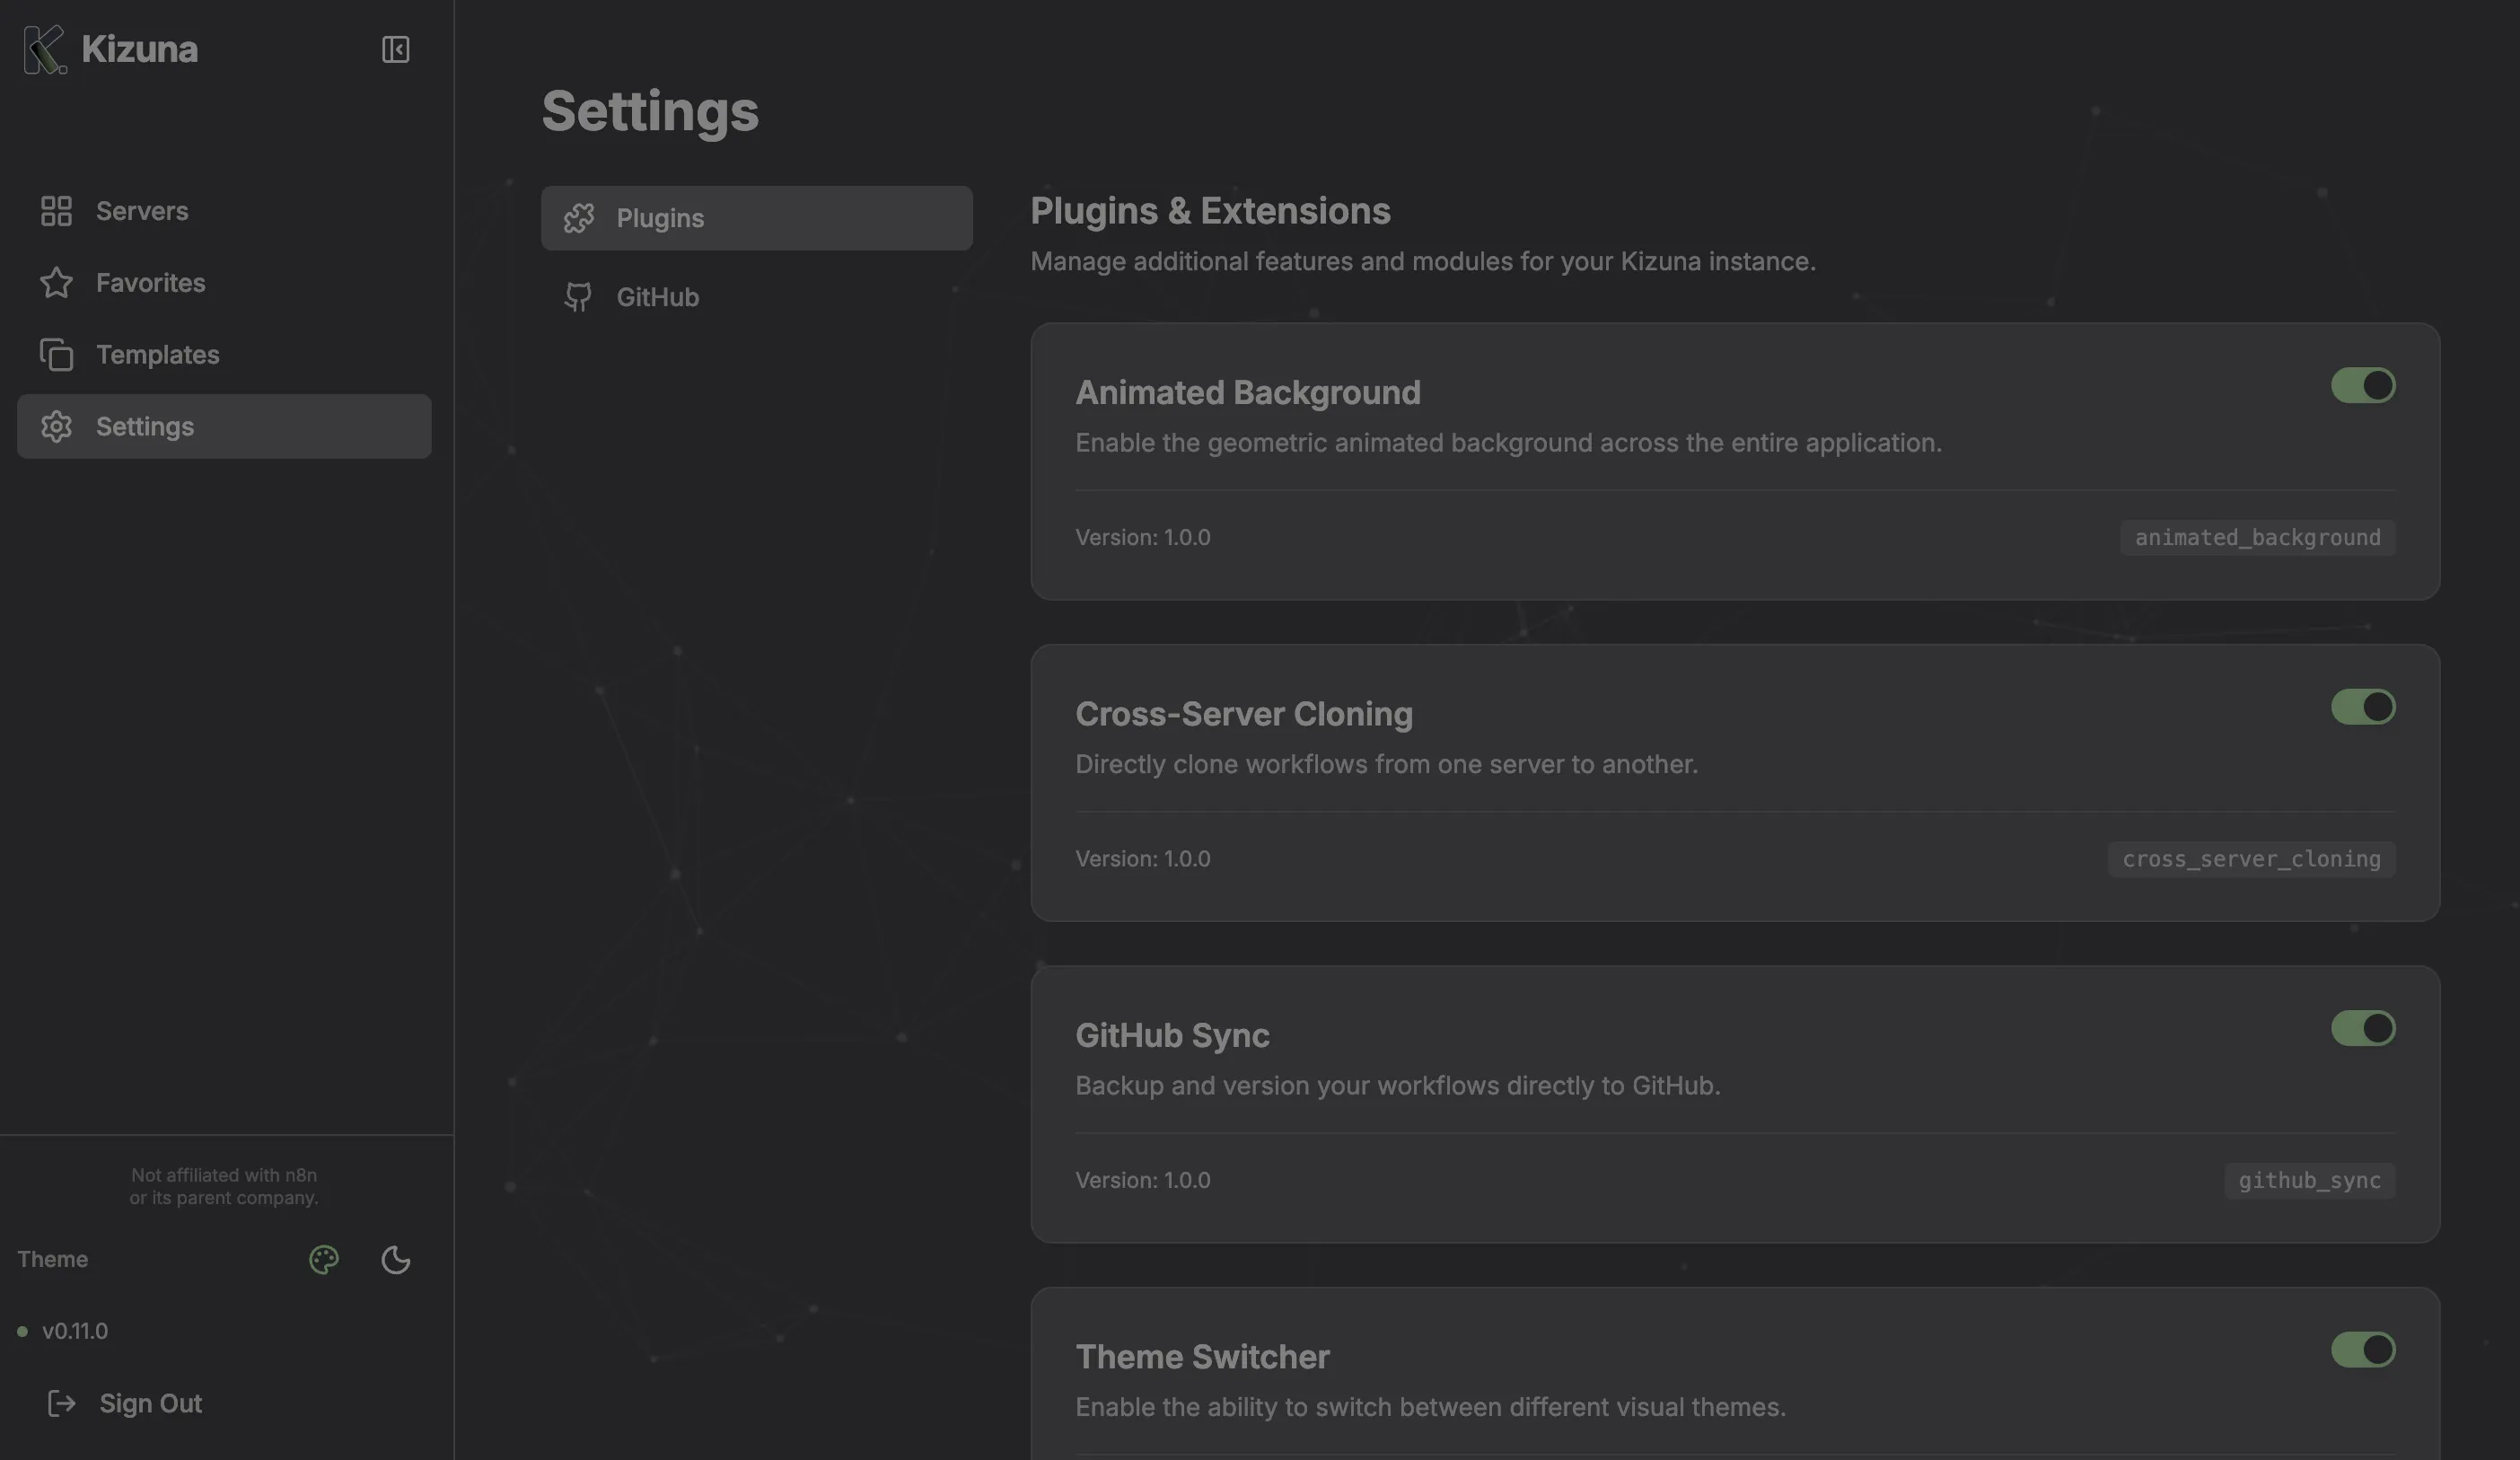
5. Enable a Plugin
Section titled “5. Enable a Plugin”Go to Settings -> Plugins.
- Enable “Animated Background” for a visual upgrade.
- Enable “GitHub Integration” if you plan to version your workflows.